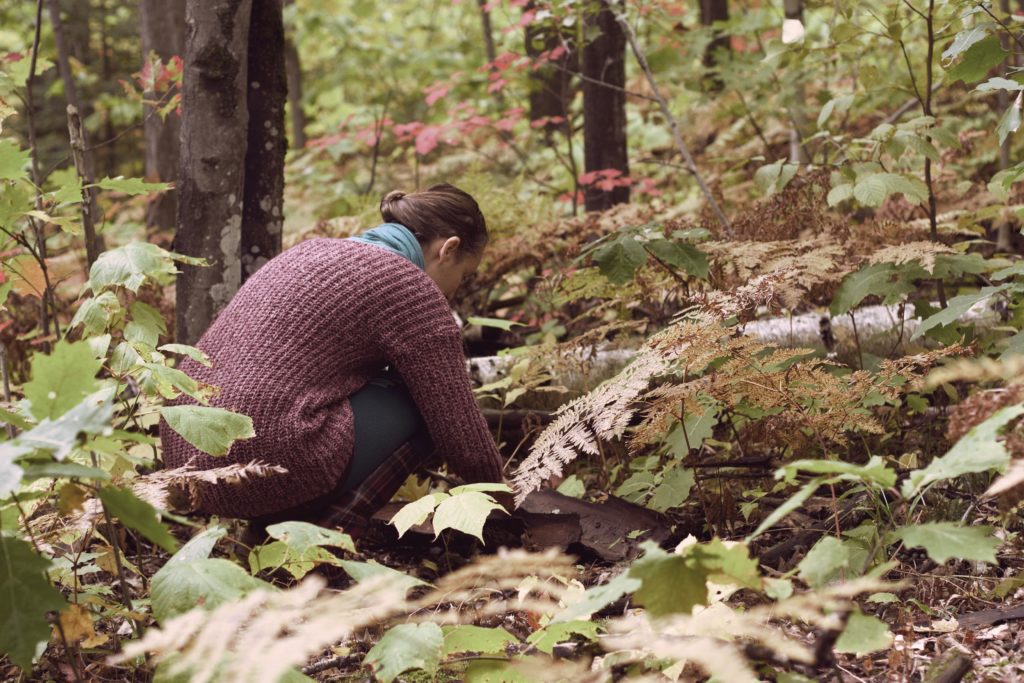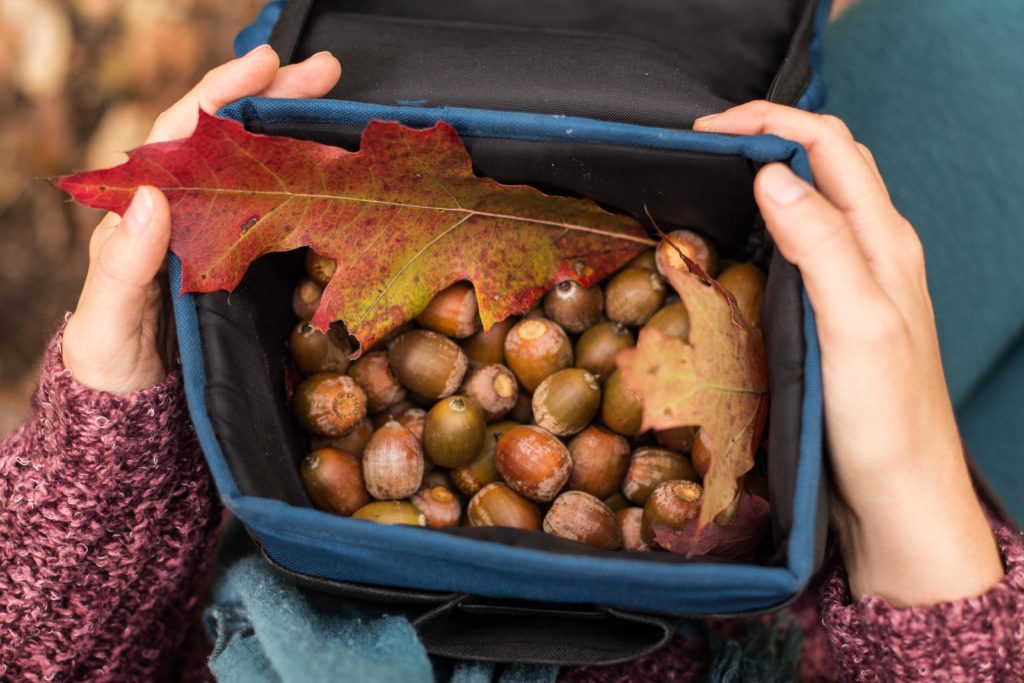
Digging through the damp fall leaves, I feel much like a squirrel, or deer rooting around for treasure. This year was a bumper crop for acorns in my area of Michigan, with the oaks producing large amounts over thousands of acres. Oaks naturally go through cycles of producing and not producing acorns, and with the fruitfulness of this year I feel it is the best time to learn more about acorns as a food source!
The general series of events for proper acorn processing is this.
- Gather ripe acorns that have fallen to the ground, they shouldn’t be green, and they shouldn’t be dark, moldy, or bug eaten.
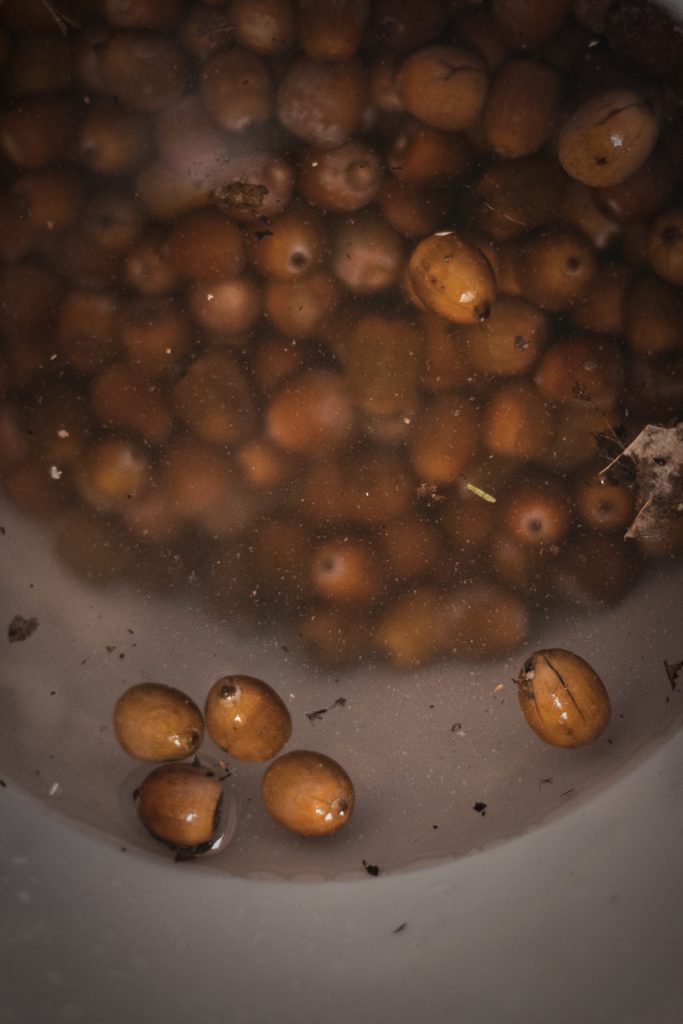
- Place your acorns into a large bucket of water. If any float, toss them, they were probably eaten by bugs. Good acorns sink.
- Crack open your acorns using either a nut cracker, pillowcase and mallet, grinding contraption, or any other fun way you can think of.
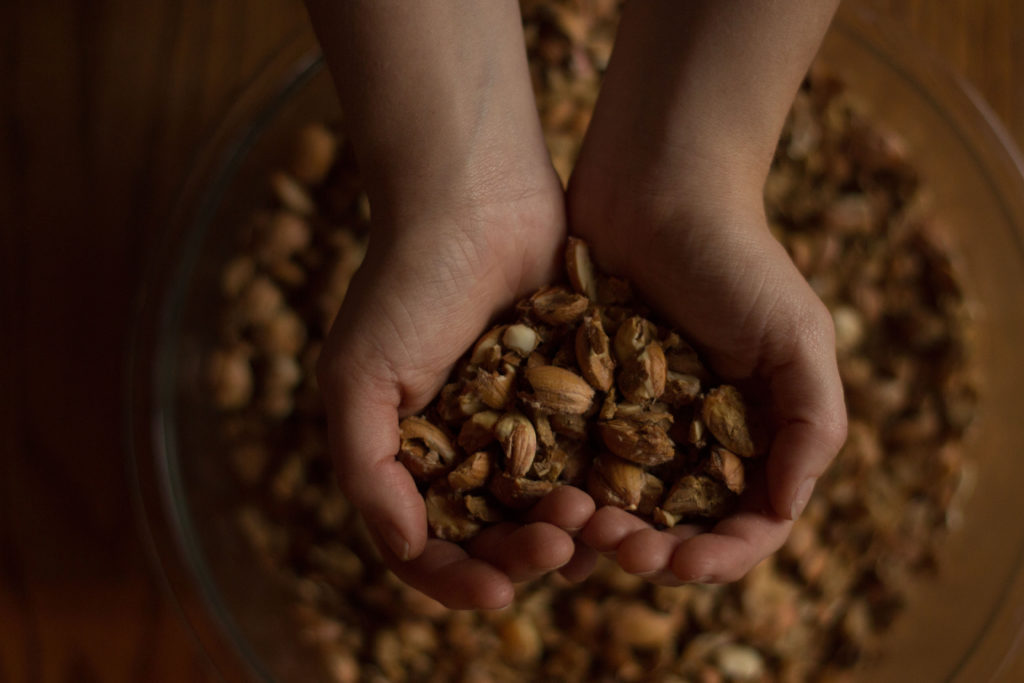
- Pry the nutmeat from your broken shells, and sift through them to make sure you have not left any hard shell pieces.
- Grind your nutmeat just a little (into a rough meal, not a flour), and leech the tannins from them in one of several ways mentioned below. Some people leave the acorns in the shells for up to a month, allowing them to dry on their own. Other people leech the acorns without grinding them.
- Once acorns are leeched (no longer bitter) dry them in a dehydrator/roast them in the oven.
- Once dry and somewhat roasted. Grind a second time in a food processor or blender until they are a fine powder. Roast once more on low heat to be sure all of the moisture is gone.
- Congratulations! You now have acorn flour!
There are some things one starts with knowledge gained from books and the internet, and this knowledge never really pans out, in fact, you could feel lied to at a certain point. There are some things which can only really be taught from one individual to the next, and anything else is like reinventing the wheel. This is how I have felt with acorns this year. Perhaps it is the trees in this area which are different… perhaps the acorns we gathered from the ground were not “ripe”, perhaps, perhaps, perhaps.
Whatever the reasons may be for the difficulties in this department, I want to share some of the things that books, videos, and the internet did not tell me.
- It doesn’t matter what contraption you have to break open your acorns, whether you’re using a mortar and pestle (first attempt), or a mallet and pillowcase (most successful attempt), the time it takes to pry out the meat from your shells is extensive. In order to get a single quart mason jar of finished flour, it took nearly 5 hours of shelling between two people. My suggestion? Hunker down for this project, enlist the help of small children, don’t smash your shells too much so you don’t get small pieces of shell in your nut meat, and fingernail-files work quite well for prying the meat out of the shell.
- There are several ways to leech the tannins from your acorns, something you need to do in order to safely/comfortably partake in the nutrition of these nuts, and I have to say…. How are you people effectively using the cold water method?!?! We tried and failed this three different ways. The first two ways were suggested by a book I had on foraging which said that the cold water method was the best way to leech the tannins because the resulting flour was more spongy and had more of an ability to stick together when cooked, so you could use 100% of it in a recipe if you chose. I like the idea of a more spongy as opposed to crumbly flour, so I really tried this method. First, we ground up our nut meat, put it in a nut milk bag, and put it in the clean water tank of our toilet (after extreme cleaning of this tank to remove any particles that we didn’t want). In a household of 4 people, the toilet should flush several times a day, changing the water that your acorns are resting in and washing away the astringent and bitter tannins. What we didn’t anticipate was how badly this would stain the bowl of our toilet with tannins, and the water in our reservoir tank was never kept cold enough because there is a baseboard heater under it, and the acorn meat was starting to ferment after just 2 days. This process was supposed to take 3-4 days, but after 2 days there was still no difference in flavor and things were not looking good. So, we moved on to the next method! We took our acorn meal, placed it in bags, put those bags in a metal cage, and tied them to a log over our river so the cold water could continuously wash the tannins away. After 4 days of this treatment, we got sandy acorn meal that required over an hour of straining and washing to get all of the sand out, and they were STILL just as bitter as the day we started. Perhaps this is because our river is already over-saturated with tannins from the local maple trees, and just couldn’t leech our acorns well enough because of this. Either way, we brought them in, placed our nutmeat in mason jars full of filtered water, and put these in the fridge. We then proceeded to strain and rinse this twice a day for 4 MORE days… again, after all that time, our acorns were still cringingly bitter. So I gave up on the cold method for fear that my nutmeat would go bad, threw it all in a pot of water, boiled, strained, and boiled again in about 5 changes of water, and the nuts were fine.
- Roasting the shelled and leeched acorns has been the suggestion of most of the books I have read, because it imparts a richer flavor and makes it easier to grind your acorn meal into a fine flour. I feel this would have worked better if I had a dehydrator, in order to dry the acorn meal before roasting. My meal was quite soggy after so much leeching, and so I did a slow bake to dry, and finally roast the meal. However, because of the water content, I think I ended up mostly steaming my nutmeat before it could even get to the roasting phase. So I wound up doing a 3 phased roasting. First baking at a low temperature to dry the meal, then bringing the temp up for a better “roast”, then allowing the meal to cool before grinding it to a fine flour powder, and then roasting it once more on a very low temperature to be sure that all of the moisture was gone. If the moisture is not completely removed from your acorn flour, it will mold if left in a jar on your shelf, or even if stored in your refrigerator.
With all this being said, after nearly two weeks of leeching our gathered acorn meal, we finally ended up with a few jars of a flour that looks like buckwheat, smells like butterscotch, and tastes… a little disappointing. I think we could have gotten a stronger nutty flavor if we had done our leeching much faster (I’m thinking we lost a lot of flavor along with the tannins throughout the weeks), and if we had used a dehydrator and oven combo to roast our finished product better. Despite the somewhat dull flavor, we were able to make a delicious batch of 50% acorn flour muffins that not only had an amazing mouth feel, but wound up becoming a favorite breakfast meal this holiday season.
Here are some tips I’ve gotten from foragers online and in books.
@pascalbaudar suggested that if one is doing the hot water leeching method, it is essential that once you get your pot of nutmeat and water to a boil, you strain it, and pour extremely hot or already boiling water over it for another boil, and do this about 3-4 times until the nutmeat is no longer inedibly bitter. If you strain out your first boiled water and then pour cold water over your nutmeat to bring it to a boil again, you risk making the tannins bind to the starches of the acorn, which will make you have to boil them MUCH longer, ultimately reducing their flavor to a bland if not bitter and unpleasant end.
Leda Meredith in her book “The Forager’s Feast” mentions that if you use the hot water method of leeching, your flour will lack body and cause your resulting baked goods to be more crumbly, in order to have a stronger result, you can really only use about 20% hot water leeched acorn flour in a given recipe. Whereas, if you use only cold water processed acorn flour, you can use 100% in a given recipe, and your results will be moist and spongy. (I proved this wrong by using 50% hot water processed flour, and my texture results were perfectly satisfactory)
I developed a recipe based on a conglomeration of recipes I found online, which is usually what I do whenever I’m baking something new, it helps to determine what are the things that HAVE to be done, and what are the things that can be messed around with based on taste. I’ve put an asterisk* next to the ingredients that I believe are pivotal.
Here’s what I came up with. The family is fondly calling it “Bobcat Scat” because it looks pretty awful, but tastes pretty epic!
- 1 cup roasted acorn flour (this amount can be tampered with, though using 100% is usually only suggested if you have gone through the cold leeching process)
- 1 cup all purpose wheat flour (could use a gluten free mix, but I haven’t tried it yet!)
- *1 1/2 tsp Baking powder
- *1 1/2 tsp Baking soda
- * 1/4 tsp salt
- * 1 1/3 cup buttermilk (we didn’t have buttermilk so we put a tablespoon of lemon juice into 1 1/3 cup of whole milk and we let it sit for 10 minutes. It gets a little thick and curdled, but works in a pinch. You’re going for a creamy acid reaction that allows for a fluffier muffin, without this acid your muffins will be dense as a brick.)
- * 1/3 cup melted butter (they say you can use nut oils as a substitute… but I don’t believe them)
- 1/4 cup brown sugar (or honey, maple syrup, or other. You need some kind of sugar in order to help with your baking reactions)
- 2 eggs (you need at least 1 or the equivalent, and I have seen recipes that include up to 4)
- 1 tsp-ish of vanilla extract
- 1/2 cup ground rolled oats or quick oats
- 1/2 cup nut meal (ground nuts, or even acorn grits, we used walnut)
- 1 cup fresh or frozen berries (we used local blueberries)
Topping: in a small pot, cook up some chopped dates with chopped nuts in a little water until mushy. Apply a dollop to the top of each of your muffins for a little extra sweetness before placing in the oven. This was a last minute decision, and is by far my favorite part of this recipe.
Preheat oven to 375 and bake for 15-20 minutes (variously, I saw the temp go from 350 all the way up to 400, so there’s some wiggle room here)
Whisk together all of your dried ingredients (except for the oats, nut meal, and sugar) in your largest bowl.
In a smaller bowl whisk together your wet ingredients including your sugar. If you have a tabletop mixer, do it until it’s almost creamy looking, not necessary, but I feel it adds a little extra body to your muffins.
At this point, pour your wet ingredients into your dry ones, stir until fully incorporated, and then add your oats, ground nuts, and berries.
You’ll have a grainy, gloopy mix by now. A little drier than other mixes I’ve made in the past, but we’re going for a more dense muffin rather than a “cake” muffin with this recipe. If you’re wanting something more cake-like, I think more eggs would be in order. In the future I would also like to add either a mashed banana, pumpkin, or sweet potato. For this recipe I didn’t want the flavor of the acorn flour to be too masked though, so I resisted the urge.
Place your muffin batter into a greased muffin tin, or use muffin cups (we used coffee filter bags because even though we had been ready for this for 2 weeks, we were woefully ill-prepared for the actual baking part). The batter hardly puffed up at all, so you can go ahead and pile those cups up as much as you like. Add the optional (though incredibly delicious) topping right before putting your muffins in the oven. Bake for 15-20 minutes, until they feel pretty dry and capable of holding their own when prodded with a finger. Serve warm with a slab of butter (or coconut oil if you’re vegan).


