The sun is shining from a deep blue sky, there is not a cloud to be seen, and the snow around me drips and shimmers. It’s not quite spring, but it feels like it. Already the branches of the trees are burgundy with spring buds, and it feels like everything is thawing and the snow will be gone any day! The nights are still freezing though, and the bright waxing moon is shining through my bedroom window making me restless.
The trees whisper…
I look out the kitchen window in the afternoon and watch a red squirrel hang upside-down from a small maple branch and proceed to lick it. The branch glistens in the sun. The sap is flowing!
Maple sap harvesting is one of the first of the year, and is by far one of my favorites. When the sap is flowing it feels like spring has already arrived! The temperatures are above freezing and sunny in the day and below freezing at night. People will often tell you that the ideal temperatures are about 50℉ in the day and below 32℉ at night, one of the things they don’t often say is that though your temperature gage might only reach 38-40℉, the actual sun hitting the bark of your trees could be reaching 50-70℉!
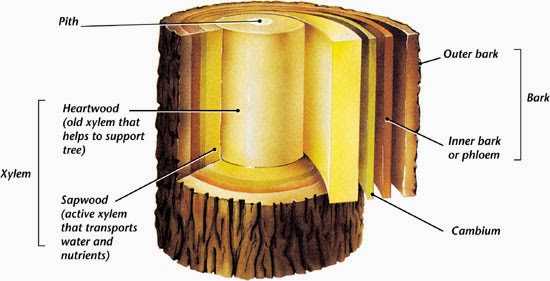
This change in temperature creates a pumping action throughout the tree, as sap is protected deep in the roots during the night so that it doesn’t freeze in the bark and cause it to split, and then in the daytime runs up the xylem to nourish the tree. In botany my teacher would always say “Xylem zooms up! And phloem flows down” to help us remember the parts of the bark, this is why the hole on the spile is set at the very tip and directed towards the ground, it’s actually there to catch the sap that’s going up! So you’ll be catching the most sap in the mornings as soon as the sun hits the tree, up until sundown.
One of the reasons that maple sap is one of my favorite harvests, is because it’s rare we have access to such a dynamic sugar in the wild. It carries with it minerals from the earth (potassium being the stand-out), phenolic compounds, phytonutrients, oligosaccharides (which help feed your healthy gut flora, and help to increase the strength of your cell-walls), malic acid, and hundreds of little trace nutrients that change depending on your region and your soil. During the height of the sap run I’ll drink a few glasses of this naturally filtered and electrolyte rich water daily, and sometimes when I don’t feel up to going through the whole process of producing syrup, I’ll just tap 4-5 trees and drink nothing but sweet water for a week or two. It’s a very subtle sweet (keeping in mind that it takes 40-60 gallons of sap to make just 1 gallon of syrup), and it offers a kind of energy that makes me feel like I’m prepared for anything!
What you’ll need before tapping.
- Spiles (about 6-8 to get a quart or two of syrup, and 10-15 for a gallon of syrup, and much more if you’re really ambitious)
- A way to collect the dripping sap. You can use food grade bags (they last a season or two before tearing, or more if you get special hangers for them), or you can get some nice food grade pales from a local ice-cream shop. These can connect to the spiles via a little hook attached to a hole in the spile and a hole along the lip of the pail. Avoid metal pails, even though these are traditional they can leach undesirable chemicals into your sap water.
- A place to store your sap while you’re collecting enough to boil down. I use specially ordered food grade 5-gallon buckets from my local hardware store. They cost about $4 (including their lids), and they are made of high density polyethylene (HDPE), which is safe to store raw milk. Check with your local hardware store before looking on Amazon, because Amazon charges twice as much, and often the product cannot be guaranteed HDPE. Some people can get these buckets used from a local restaurant, but beware flavors that they may have collected over time (such as pickle juice!). Whatever you choose to store your sap in, just be sure that it is food grade and rated for liquids as well as dried goods.
- An electric drill with a 7/16 or 5/16 bit (depending on the size of your spile). You can also get a hand-cranked drill, which I prefer (though probably wouldn’t like as much if I was tapping 50 trees)
- A way to evaporate your sap down to syrup. You can get rectangular, hobby sugar-bushing, evaporator pans that can be used over a bonfire outside or come with their own wood-fired stoves, or you could invest in a professional sized set-up (Leader Evaporator has some expensive, but great options, and they’re a good point of reference). Either way, you’re going to be doing the majority of the evaporating outside. The reason we don’t do this inside is because there is actually a lot of sugar evaporating, and this sugar WILL stick to your ceiling, and your walls, and pretty much everything it comes into contact with. At the small size I do this, I finish off my syrup in a large pot on my stove, because I don’t have a really good way to do it outside (an electric hot-plate might be a good option).
- Nice glass jars to store your finished syrup in.
Remember that everything you use, everything that’s going to come into contact with the tree or the sap, should be sterilized before use. For the buckets you can pour boiling water into them, and fill them with water with a few drops of iodine. The spiles can be boiled along with the drill-bit, and the finished jars should be boiled as well. All of this is to prevent mold, yeast, and bacterial growth.
When you look for your trees to tap, look for a tree that doesn’t have any large scars along it’s trunk, it has healthy branches, no signs of bad fungal problems, and no mushrooms growing on it (this is a sign of a dead or dying maple, a healthy maple will not have mushrooms).
If you’re not comfortable with identifying maple trees in the winter, then I suggest finding your trees in the summer and marking them with a ribbon or a small spot of spray-paint. Not all maples are sugar maples, and not all syrup is made with sugar maples alone! Sugar maple (Acer saccharum) and black maple (Acer nigrum) are some of the best producers, but red and silver maple will also give you sap (though their sugar concentrations are less, instead of 40:1 ratio, they are closer to a 50-70:1 ratio, and they do not produce as much as sap). On my property we’re tapping mostly black and silver maple, with a few silver maples. Some of the best ways to identify them are by their different bark textures and leaf edges, instead of giving a long narration and how one should go about doing this, I suggest checking out this video for identifying maple trees for tapping in winter.
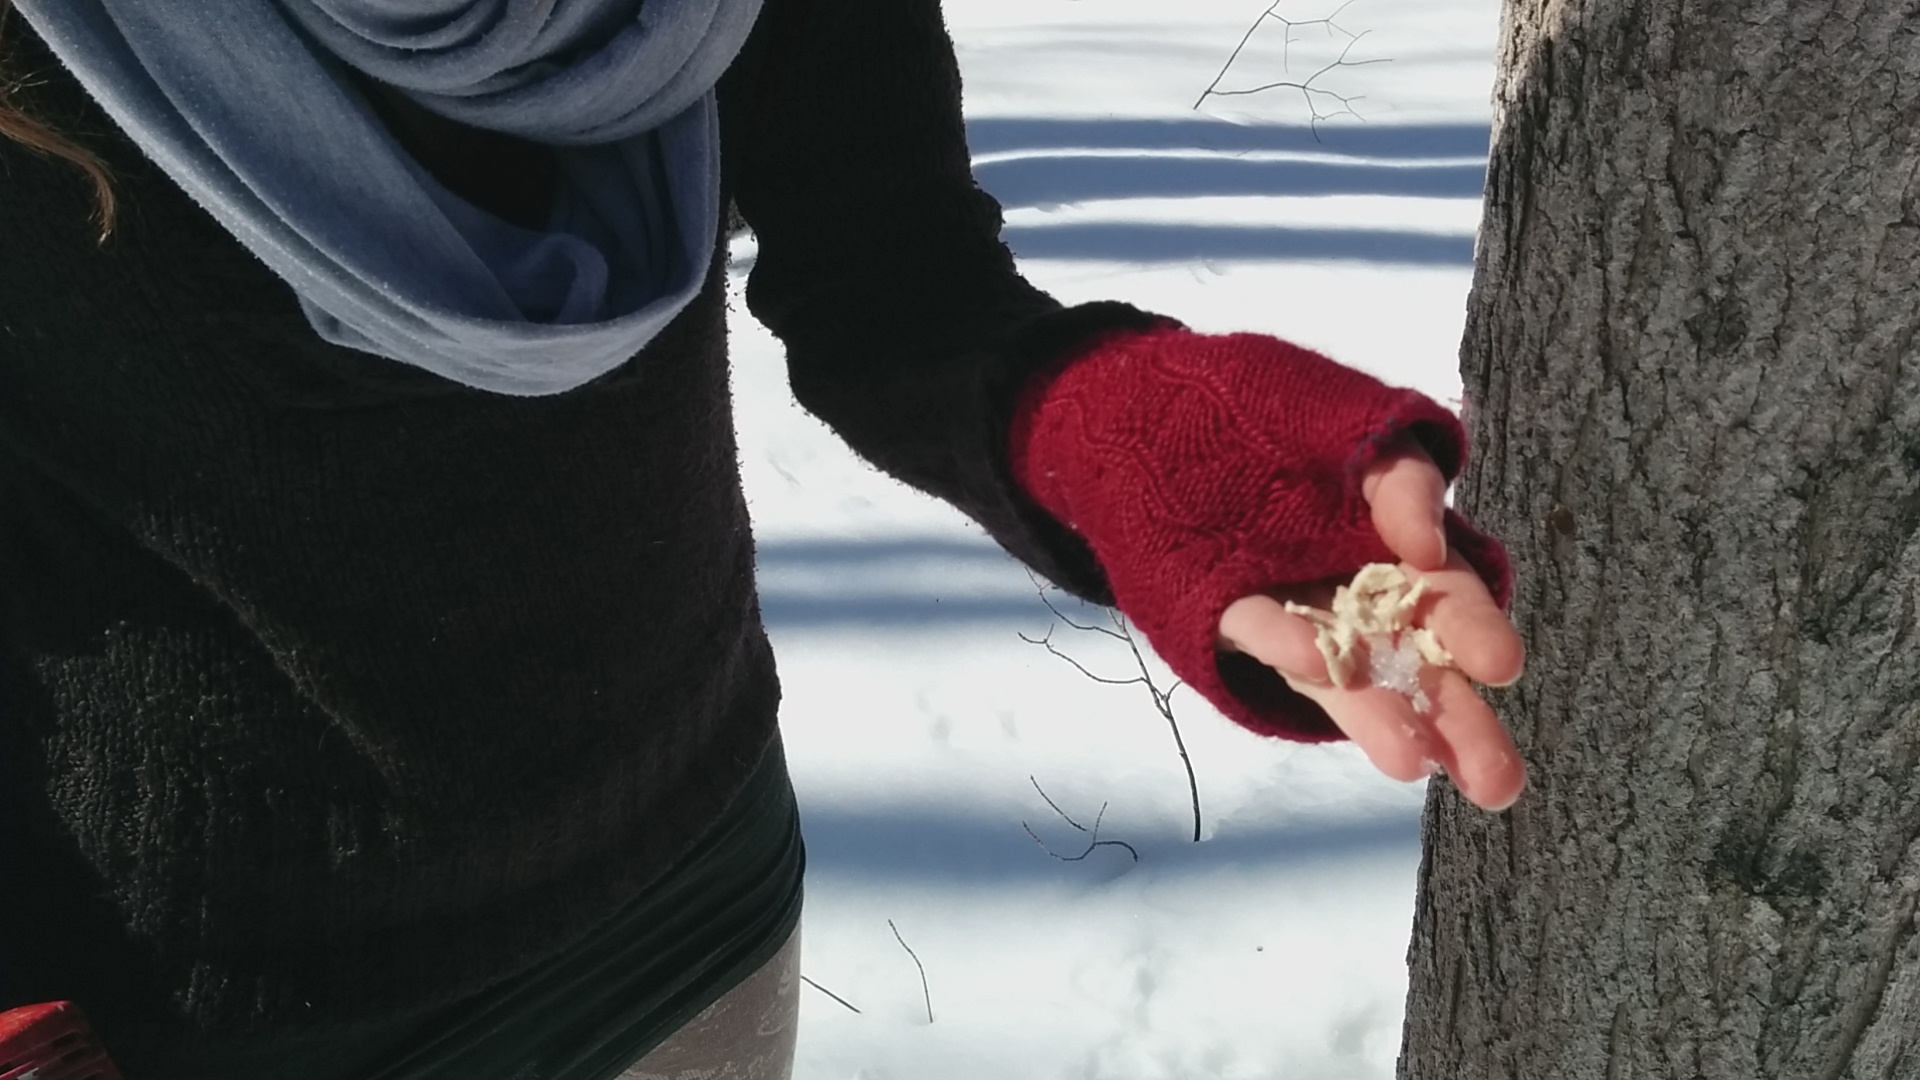
When you tap into the tree, the wood that comes out should be a nice light tan, and uniform. You don’t want green, black, gray, red, or bugs!
You’ll also want to find a tree that spends most of the day in the sun, and you’ll want to place the tap on the south side of the tree. The sap zooms up the quickest when the tree is warmed by the sun, and as the sun goes down you’ll notice that the sap flow comes to a halt. A good flow-rate is several drops a second, but just because a tree isn’t gushing when you drill into it, doesn’t mean it’s not going to be a good producer later, if it’s going slow, give it a day, if it continues to drip poorly consider tapping another tree to make up for the slowly producing tree.
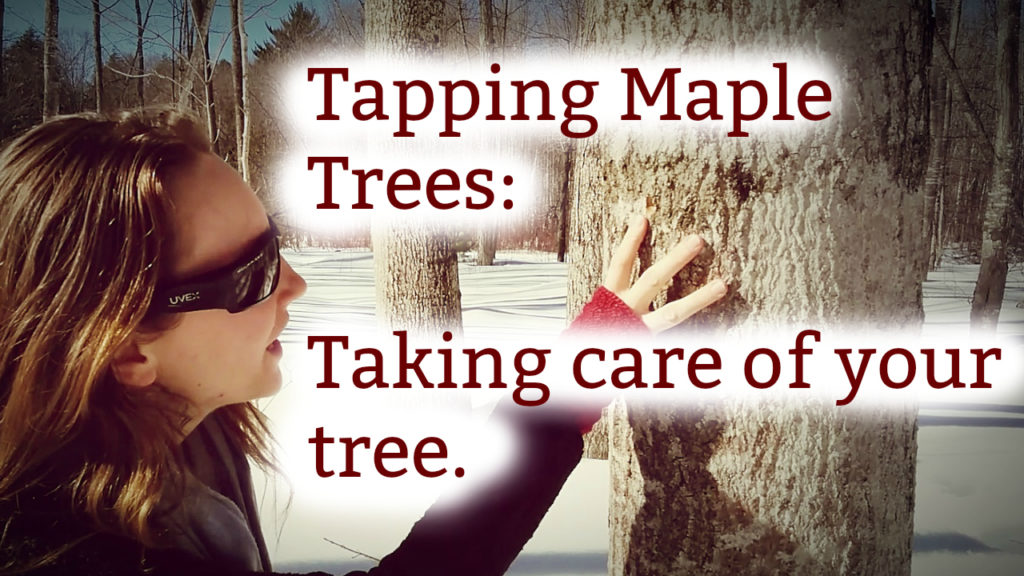
Some people will tap large trees up to 4 times, but when I have so many trees to tap, I’m not a big fan of this this, which I explain more in my maple tapping video series. The long story short of it is that tapping holes leaves permanent scar tissue, and it takes them a while to heal up completely, and if I want to tap some of these trees next year, I want them to be healthy and not too riddled with holes. This is another reason why it’s important to take care of your tapped holes when the season is done, another point which I cover in my video “Tapping Maple Trees: taking care of your tree”.
At the peak of the sap flow, you’ll be checking your trees up to 3 times a day! When it’s running slow I’ll still empty my containers in the afternoon and the evening, not because they’re full, but because I don’t want the sap to be left in the sun for too long because it will go sour. The sap from the trees should be clear, though a slight yellow tinge isn’t bad, just taste it before adding it to the rest of your sap water. It should taste sweet and clean. If it’s a darker amber than it’s likely you tapped the tree to soon or the tree is unhealthy. If the darker sap still tastes good to you, I’d say drink it, but don’t add it to your main sap (it can change the overall flavor, though some people like it).
Make sure your larger collection containers are buried in the snow and kept in a shady place (I use the north side of the house). You can store liquid sap for 4-5 days before it starts to go sour. So even if you don’t have a lot to boil, you’re going to have to start anyways unless you can put your sap in plastic containers and freeze them until the sap really starts to flow. There’s nothing more tragic than a batch of sap going bad, except for burning a batch of syrup!
There is a lot of work that goes into collecting sap and boiling down syrup when you’re doing it at a hobby level, and you’ll find yourself coveting your end result as a magical elixir that should only be used for the most special of pancakes and delicacies. It is like a local medicine that the trees in your area produced just for you and them. When you collect pure and wild consumables from your local area, you are getting a chance to get certain micronutrients that may be specially adapted for the environment, and as such, may benefit your health in the area. They say that consuming local honey can help prevent seasonal allergies, and when it comes to local maple sap, I have a theory that it may provide micronutrients that can help you adapt to the spring ahead. That’s just a theory though, you’ll have to put it to the test yourself!
Give respect and gratitude for what the trees have gifted you, and gift it honorably in return. Also, if you’re tapping trees on someone else’s property (with their permission of course), it’s common curtesy to give them a jar or more of your final result, it’s also good to let them know what trees you will be tapping, and if they have any questions, concerns, or any trees that they DON’T want you to tap.
Work with gratitude, practice respect, and jump with glee as you sip your sap!
If you want to know more about the final steps of turning sap from water to syrup, stay tuned for parts 2 and 3 of my video series, and learn all the ways in which you can enjoy the fruits of your labour.

Maple Tree Tapping. Part 1: Finding and drilling your tree